Railsのローカル変数、インスタンス変数について
pepe87
ミニマリストいずのブログ

こんにちは、ミニマリストいずです。
Rail +ReactでSNS機能を持ったWEBアプリの作り方を紹介していく連続企画の第6弾です。
今回は投稿をユーザに紐付けたメモと全てのメモを取得できるようにしていきます。
初学者の方にもわかるようにまとめていきますが、不明点がありましたら以下から質問をいただければと思います。
Webアプリの基本であるCRUDを実装しています。
どのアプリを作るにも参考になると思いますので、初学者の方にもおすすめのアプリになっています。
今回も各実行後の確認方法は省きますね。
もし確認方法を忘れてしまったら、前の記事に戻って確認してみてください。

もしそれでもわからなければ以下から無料質問してみてください。
ログインユーザが投稿したメモを取得できるようにします。
1class Api::V1::MemosController < ApplicationController
2  before_action :authenticate_api_v1_user!, only: [:create, :my_memos]
3  before_action :set_user, only: [:create, :my_memos]
4
5  def create
6    memo = Memo.new(memo_params)
7    if memo.save
8      render json: memo, status: :created
9    else
10      render json: memo.errors, status: :unprocessable_entity
11    end
12  end
13
14  def my_memos
15    memos = Memo.includes(:category, :user).where(user_id: @user.id).order(created_at: 'DESC')
16    render json: memos.to_json(include: {category: {only: :name}, user: {only: :name}}), status: :ok
17  end
18
19  private
20
21  def memo_params
22    params.require(:memo).permit(:content, :category_id).merge(user_id: @user.id)
23  end
24
25  def set_user
26    @user = current_api_v1_user
27  end
28end
29
次はmy_memosのルーティングを追加していきます。
1Rails.application.routes.draw do
2  namespace :api do
3    namespace :v1 do
4      mount_devise_token_auth_for 'User', at: 'auth', controllers: {
5        registrations: 'api/v1/auth/registrations',
6        sessions: 'api/v1/auth/sessions',
7      }
8
9      resources :categories, only: [:index, :create]
10      resources :memos, only: [:create] do
11        collection do
12          get :my_memos
13        end
14      end
15      resources :users, only: [] do
16        collection do
17          get :user_name
18        end
19      end
20    end
21  end
22end復習ポイントの部分、自分の言葉で説明できていそうですか?
誰かに説明しようとすると理解ができていたかがわかりやすいので、ぜひ言語化に取り組んでみてください。
言語化できないな、理解できていないかもなと思ったら、以下から質問もしてみてくださいね。
ログインユーザが投稿したメモの一覧を取得するため、「MyMemos.jsx」を作成し、以下のようにコードを追記します。
1import React, { useState, useEffect } from 'react';
2import {
3    SimpleGrid,
4    Center,
5    Card,
6    Heading,
7    CardHeader,
8    CardBody,
9    Stack,
10    StackDivider,
11    Text,
12    CardFooter,
13} from "@chakra-ui/react";
14
15import axios from 'axios';
16
17export default function MyMemos() {
18    const [ memos, setMemos ] = useState([]);
19
20    useEffect(() => {
21        fetchGetMemos();
22    }
23    , []);
24
25    async function fetchGetMemos() {
26        try {
27            const res = await axios.get("http://localhost:3010/api/v1/memos/my_memos", {
28                headers: {
29                'access-token': localStorage.getItem('access-token'),
30                'client': localStorage.getItem('client'),
31                'uid': localStorage.getItem('uid'),
32                }
33            });
34
35            if (!res.status || (res.status < 200 && res.status >= 300)) {
36                throw new Error(`HTTP error! status: ${res.status}`);
37            };
38
39            setMemos(res.data);
40        }
41        catch (error) {
42            console.error('Error getting memos:', error);
43        }
44    }
45
46    return (
47        <Center>
48        <SimpleGrid columns={{ base: 1, md: 2, lg: 3 }} spacing={10}>
49            {memos.map((memo, index) => (
50                <Card key={index}>
51                    <CardHeader>
52                        <Heading size="md">{memo.category.name}</Heading>
53                    </CardHeader>
54                    <CardBody>
55                        <Stack divider={<StackDivider />} spacing='4'></Stack>
56                        <Text>{memo.content}</Text>
57                    </CardBody>
58                    <CardFooter>
59                        <Text>ユーザ名: {memo.user.name}</Text>
60                    </CardFooter>
61                </Card>
62            ))}
63        </SimpleGrid>
64        </Center>
65    );
66}
そして、ページのルーティングを追加していきます。
1import { BrowserRouter, Routes, Route } from "react-router-dom";
2import NewCategory from "./component/page/NewCategory";
3import NewMemo from "./component/page/NewMemo";
4import MyMemos from "./component/page/MyMemos";
5import UserRegist from "./component/page/UserRegist";
6import Login from "./component/page/Login";
7
8function App() {
9  return (
10    <BrowserRouter>
11      <Routes>
12        <Route path={`/category/new`} element={<NewCategory />} />
13        <Route path={`/memo/new`} element={<NewMemo />} />
14        <Route path={`/my_memos`} element={<MyMemos />} />
15        <Route path={`/registration`} element={<UserRegist/>} />
16        <Route path={`/login`} element={<Login />} />
17      </Routes>
18    </BrowserRouter>
19  );
20}
21
22export default App;
23
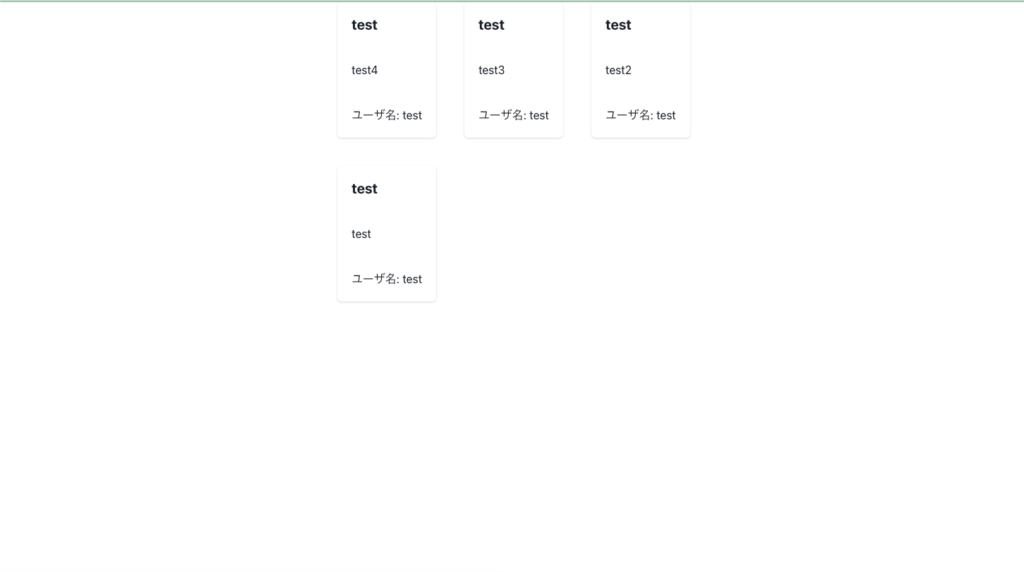
以下のようにユーザに紐づいたメモ一覧が取得できていたらOKです。
先ほどのほぼ繰り返しで、全ユーザのメモも取得できるようにしていきます。
まずはコントローラーです。
1class Api::V1::MemosController < ApplicationController
2  before_action :authenticate_api_v1_user!, only: [:create, :my_memos]
3  before_action :set_user, only: [:create, :my_memos]
4
5  def index
6    memos = Memo.includes(:category, :user).order(created_at: 'DESC')
7    render json: memos.to_json(include: {category: {only: :name}, user: {only: :name}}), status: :ok
8  end
9
10  def create
11    memo = Memo.new(memo_params)
12    if memo.save
13      render json: memo, status: :created
14    else
15      render json: memo.errors, status: :unprocessable_entity
16    end
17  end
18
19  def my_memos
20    memos = Memo.includes(:category, :user).where(user_id: @user.id).order(created_at: 'DESC')
21    render json: memos.to_json(include: {category: {only: :name}, user: {only: :name}}), status: :ok
22  end
23
24  private
25
26  def memo_params
27    params.require(:memo).permit(:content, :category_id).merge(user_id: @user.id)
28  end
29
30  def set_user
31    @user = current_api_v1_user
32  end
33end
34
このコードでもリファクタリングできそうなところがありますよね。
見つけられましたか?
もしわからなければ是非質問してみてください。
1Rails.application.routes.draw do
2  namespace :api do
3    namespace :v1 do
4      mount_devise_token_auth_for 'User', at: 'auth', controllers: {
5        registrations: 'api/v1/auth/registrations',
6        sessions: 'api/v1/auth/sessions',
7      }
8
9      resources :categories, only: [:index, :create]
10      resources :memos, only: [:index, :create] do
11        collection do
12          get :my_memos
13        end
14      end
15      resources :users, only: [] do
16        collection do
17          get :user_name
18        end
19      end
20    end
21  end
22end
23
ここまでできたらフロントエンドに移っていきます。
ほぼ先ほどと同じようなコードをMemos.jsxを追加して、追記していきます。
1import React, { useState, useEffect } from 'react';
2import {
3    SimpleGrid,
4    Center,
5    Card,
6    Heading,
7    CardHeader,
8    CardBody,
9    Stack,
10    StackDivider,
11    Text,
12    CardFooter,
13} from "@chakra-ui/react";
14
15import axios from 'axios';
16
17export default function Memos() {
18    const [ memos, setMemos ] = useState([]);
19
20    useEffect(() => {
21        fetchGetMemos();
22    }
23    , []);
24
25    async function fetchGetMemos() {
26        try {
27            const res = await axios.get("http://localhost:3010/api/v1/memos");
28
29            if (!res.status || (res.status < 200 && res.status >= 300)) {
30                throw new Error(`HTTP error! status: ${res.status}`);
31            };
32
33            setMemos(res.data);
34        }
35        catch (error) {
36            console.error('Error getting memos:', error);
37        }
38    }
39
40    return (
41        <Center>
42        <SimpleGrid columns={{ base: 1, md: 2, lg: 3 }} spacing={10}>
43            {memos.map((memo, index) => (
44                <Card key={index}>
45                    <CardHeader>
46                        <Heading size="md">{memo.category.name}</Heading>
47                    </CardHeader>
48                    <CardBody>
49                        <Stack divider={<StackDivider />} spacing='4'></Stack>
50                        <Text>{memo.content}</Text>
51                    </CardBody>
52                    <CardFooter>
53                        <Text>ユーザ名: {memo.user.name}</Text>
54                    </CardFooter>
55                </Card>
56            ))}
57        </SimpleGrid>
58        </Center>
59    );
60}
61
こちらもほぼ同じということは…リファクタリングできそうなところがありますよね。
見つけられましたか?
もしわからなければ是非質問してみてください。
ページルーティングも追加していきます。
また、今回のメモ一覧はトップページにしたいので、他のページとはルーティングが少しだけ違うので、注意してください。
1import { BrowserRouter, Routes, Route } from "react-router-dom";
2import NewCategory from "./component/page/NewCategory";
3import Memos from "./component/page/Memos";
4import NewMemo from "./component/page/NewMemo";
5import MyMemos from "./component/page/MyMemos";
6import UserRegist from "./component/page/UserRegist";
7import Login from "./component/page/Login";
8
9function App() {
10  return (
11    <BrowserRouter>
12      <Routes>
13        <Route path={`/`} element={<Memos />} />
14        <Route path={`/category/new`} element={<NewCategory />} />
15        <Route path={`/memo/new`} element={<NewMemo />} />
16        <Route path={`/my_memos`} element={<MyMemos />} />
17        <Route path={`/registration`} element={<UserRegist/>} />
18        <Route path={`/login`} element={<Login />} />
19      </Routes>
20    </BrowserRouter>
21  );
22}
23
24export default App;
25
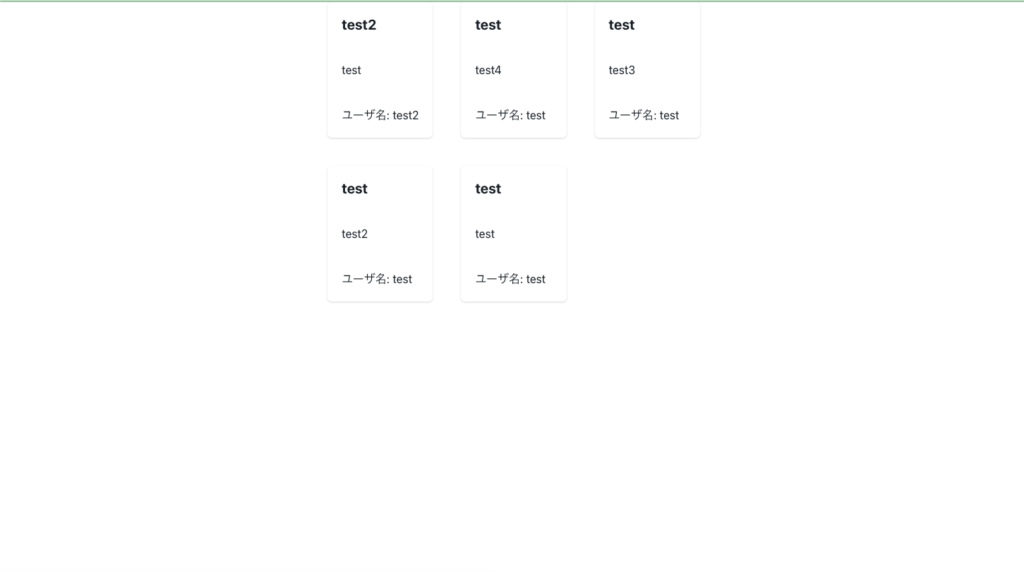
以下のように複数ユーザの投稿が表示できたいたらOKです。
また、現在はログアウト機能をまだ実装していないので、ログインしているかに関わらず、新規登録機能を使ってユーザを増やしてください。
SNSアプリを作成していくにあたり、RailsとReactを連携し、ユーザに紐づいたメモ・全メモの取得ができるようになりました。
次回はログアウトをできるようにしていきます。